Categories: AI Video Workflow, Creator Strategy, Production Process
Tags: happy horse, ai video workflow, content strategy, creator toolkit
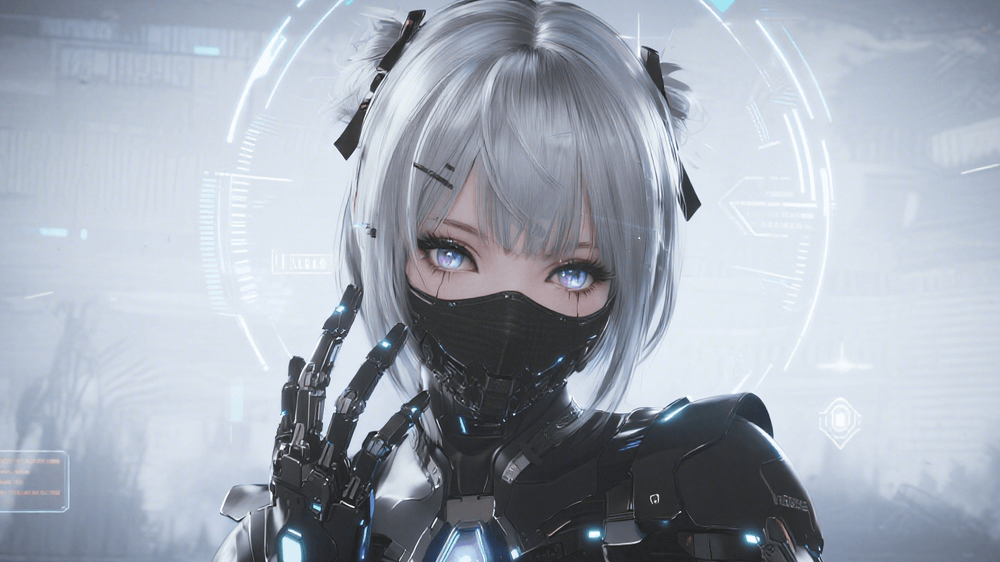
Introduction: Mastering AI Animation Beyond the Prompt
The promise of AI-driven animation often conjures images of complex narratives emerging from a single prompt. However, for creators seeking genuine control and consistent quality, a more structured, iterative approach is essential. This guide outlines a beginner-friendly workflow for crafting animated videos with AI, moving beyond superficial prompt engineering to a process that emphasizes clear intent, visual refinement, and thoughtful pacing. By breaking down the animation journey into manageable stages—from conceptualization to final export—we empower you to produce publication-grade content with tools like Happy Horse.
The Foundational Principle: Start Small, Iterate Smart
For newcomers to AI animation, the most common pitfall is overambition. Attempting a full narrative arc or a complex sequence immediately often leads to frustration and inconsistent results. Instead, begin with a contained project: a fifteen-second teaser, a character introduction, or a short mood scene. This focused scope allows you to master the workflow's nuances without being overwhelmed by narrative demands. The goal isn't immediate grandiosity, but repeatable success and a deep understanding of the underlying mechanics.
Beyond the Single Prompt: A Structured Workflow for AI Animation
The biggest mistake beginners make is treating the entire animation process as a singular, all-encompassing prompt. True mastery lies in a modular approach:
- Define Intent: Clearly articulate the purpose and emotional core of your clip.
- Establish Visuals: Build a consistent aesthetic foundation.
- Generate Strong Stills: Focus on creating high-quality, impactful keyframes.
- Animate Selectively: Apply motion only to the most compelling frames.
- Polish with Timing and Sound: Refine the rhythm and sensory experience.
Step 1: Start With a Clear Scene Idea
Before any visual generation begins, define the intent of your clip. This isn't about technical specifications; it's about purpose. What emotional beat are you trying to hit? What story fragment are you conveying?
- Is it a quick teaser designed to build anticipation?
- An emotional beat, like a moment of reflection or sorrow?
- A dynamic fight sequence, emphasizing power and speed?
- A transformative scene, illustrating change or evolution?
Even a concise idea, such as "a lone warrior crossing a rainy street at night," provides ample direction. This single sentence informs the mood (somber, gritty), the framing (wide shot, low angle to emphasize isolation), and potential motion (slow, deliberate steps, rain effects). Without this foundational intent, your AI will generate visuals lacking cohesion and purpose.
Step 2: Build the Visual Base
Once your intent is clear, establish the visual identity of your scene. Consistency is paramount.
- For general creation: If your project requires a broad visual pipeline, begin with an AI video generator workflow, focusing on consistent descriptors across initial prompts.
- For image-led projects: The most effective strategy is to select one strong still image that perfectly encapsulates your desired aesthetic. Then, meticulously reuse the exact same descriptors, character models, and stylistic parameters from that image across all subsequent generations. This prevents visual drift and ensures a cohesive look, rather than starting from scratch with new prompts for every frame. Think of it as establishing your "visual bible" from the outset.
Step 3: Create Better Key Frames
The quality of your final animation is directly proportional to the quality of your source frames. Weak still images inevitably lead to weak, artifact-ridden animation. Your primary objective at this stage is not to generate a multitude of clips, but to meticulously select and refine the best possible still frames.
Ask critical questions:
- Does this frame unequivocally convey the intended mood, action, or character expression?
- Is the composition balanced, dynamic, and visually engaging?
- Are there any inconsistencies, glitches, or undesirable artifacts that detract from the image's strength?
If a frame is subpar, refine its prompt, regenerate, or even use image-editing AI tools to correct imperfections. Strong keyframes are the bedrock of compelling AI animation.
Step 4: Animate Only the Best Frames
With your superior key frames in hand, transition them into an AI image animator workflow. This is where beginners often make the mistake of over-animating. The temptation to inject excessive motion into every element can result in chaotic, unreadable sequences.
A more effective strategy is to embrace subtlety:
- Focus on readable movement: Short, clear, and purposeful movements generally look far better than trying to force too much action into a single shot.
- Prioritize impact: Instead of animating everything, identify the crucial elements that need motion to convey meaning or emotion. A slight camera push, a subtle shift in a character's gaze, or the gentle sway of a tree can be far more impactful than an overly complex, busy scene.
For instance, "Wind moves the hair while the camera pushes in" is a much more controllable and effective motion goal than "the character spins, attacks, jumps, and lands while the camera circles." Simplicity in motion often translates to higher perceived quality.
Step 5: Add Timing and Sound
The true distinction between a raw demonstration and a polished, professional clip often lies in its rhythm and auditory experience. This stage transforms generated visuals into an immersive sequence.
- Rhythm and Pacing: Practice cutting earlier. Allow moments of pause to breathe, giving the viewer time to process visual information and absorb the mood. A well-placed beat of silence can be as powerful as a burst of action.
- Sound as Support: Use sound to enhance and support the visual motion. An AI sound effect generator can be invaluable here, helping you integrate:
- Footsteps: To ground character movement.
- Ambient noise: To establish environment (e.g., rain, city bustle, forest sounds).
- Transition hits: To punctuate cuts or scene changes.
- Atmospheric elements: To deepen the emotional resonance.
Thoughtful sound design makes the sequence feel intentional, professional, and significantly more engaging.
Common Mistakes and How to Avoid Them
Many short-form creators struggle because they desire more control than one-click generation offers, yet they haven't adopted a structured workflow. The key is to:
- Break down the process: Avoid the "single prompt" fallacy.
- Prioritize quality over quantity: Better stills and cleaner motion yield superior results than simply generating more clips.
- Simplify motion goals: If you can't explain the desired motion in one clear sentence, it's likely too complex for a beginner workflow.
- Test your ideas: Before committing to extensive generation, ask:
- Is the idea specific enough?
- Is the motion goal simple enough?
- Is the visual style consistent?
If the answer to any of these is no, simplify further. AI animation almost always improves when the scene becomes more specific, not more ambitious.
Who This Workflow Is Best For
This workflow is ideal for short-form creators, marketers, and hobbyists who want to exert more granular control over their AI-generated animations. It's particularly effective for:
- Teasers and trailers: Building anticipation with concise, impactful visuals.
- Mood scenes: Establishing atmosphere and emotional tone.
- Character introductions: Presenting a character's essence without complex narrative.
These project types keep the scope manageable, making them perfect for learning and iterating on the process.
Do I Need Drawing Skills to Make Animated Videos with AI?
No. Traditional drawing skills are largely secondary for most beginner AI animation workflows. What matters significantly more are:
- Strong planning: A clear vision and structured approach.
- Effective prompt engineering: The ability to articulate your vision to the AI.
- Discerning selection: The skill to identify and refine the best source frames.
- An eye for clean motion: Understanding how subtle movement enhances a scene.
The biggest quality improvements in AI animation often stem from better source stills and cleaner, more intentional motion, rather than from adding more effects or relying on drawing ability.
Practical Weekly Workflow with Happy Horse
To integrate this workflow into your creative routine, consider a structured weekly approach using Happy Horse's suite of tools:
- Define Your Objective (Monday): Choose 2-3 workflow blocks from this article (e.g., "Clear Scene Idea" and "Build Visual Base"). Set a clear, achievable weekly goal for your animation project, such as "Create a 5-second character intro with a consistent visual style."
- Draft Your Content (Tuesday-Wednesday): Use Happy Horse's Text to Video or Image to Video tools to generate initial visual concepts and key frames. Focus on iterating on prompts to achieve the strongest possible stills.
- Refine and Enhance (Thursday): Improve the structure and style of your clips using Video to Video. Experiment with motion parameters, ensuring movements are subtle and impactful, not chaotic.
- Add Audio (Friday): Integrate sound effects and music. Use Video to Audio to extract or modify audio, or Text to Music to generate custom scores or ambient tracks that support your visuals.
- Publish and Analyze (Weekend): Release one polished variant that adheres strictly to your workflow and one experimental version (e.g., trying a new motion style or sound design). Compare their performance metrics (views, engagement) to inform and optimize your future iterations.
Conclusion
Scaling your content output effectively hinges on standardizing your production process. By adopting this structured, iterative workflow, you move beyond random generation to a system of repeatable quality. Maintain a consistent creative structure, iterate on specific sections for continuous improvement, and only scale those elements that consistently perform well. This systematic approach ensures measurable improvement and a higher caliber of AI-animated content.
Start Creating with Happy Horse:
- Image to Video: https://openhappyhorse.io/image-to-video
- Text to Video: https://openhappyhorse.io/text-to-video
- Refine with Video to Video: https://openhappyhorse.io/video-to-video
- Add audio with Video to Audio: https://openhappyhorse.io/video-to-audio
- Build supporting visuals: https://openhappyhorse.io/text-to-image
FAQs
1) Can this workflow work for a solo creator with limited time? Absolutely. The key is to start with a small, defined weekly scope. Instead of aiming for a full minute of animation, commit to perfecting a 5-10 second loop or a single character action. Consistently reusing the same production blocks (e.g., always starting with a clear intent, then generating 3 strong stills) will build efficiency and muscle memory, making the process faster over time.
2) How many variants should I test per post or project? For effective learning and optimization, testing 2 to 4 focused variants is usually sufficient. For instance, create one version following your established workflow, and then create 1-3 experimental versions where you change only one variable at a time (e.g., different motion intensity, alternative sound design, or a slightly altered visual style). This focused A/B testing allows you to identify clear winners and understand why certain approaches resonate more with your audience.
3) Should I prioritize trends or consistency in my AI animation content? Use trends strategically to gain initial reach and visibility, especially when exploring new niches or platforms. However, for long-term brand recognition and audience loyalty, always maintain a consistent format system. This means having a recognizable visual style, narrative structure for short clips, or even a signature sound design. Trends can bring new eyes, but consistency builds a loyal audience who knows what to expect and appreciates your unique creative voice.